In the US, we love snapping photos; on average, we take 20.2 per day! Sometimes, you just need to hold that shutter button down to get the perfect shot.
But what if you do get that perfect picture, except there’s something glaringly wrong? Whether it’s an unaware passerby, an intentional photobomber, or a pile of junk in the background, it’s ruined your image!
Not to worry though, as you can use a background eraser to create the best photo possible.
Read on to find out how to use a background remover so you can upgrade your images!
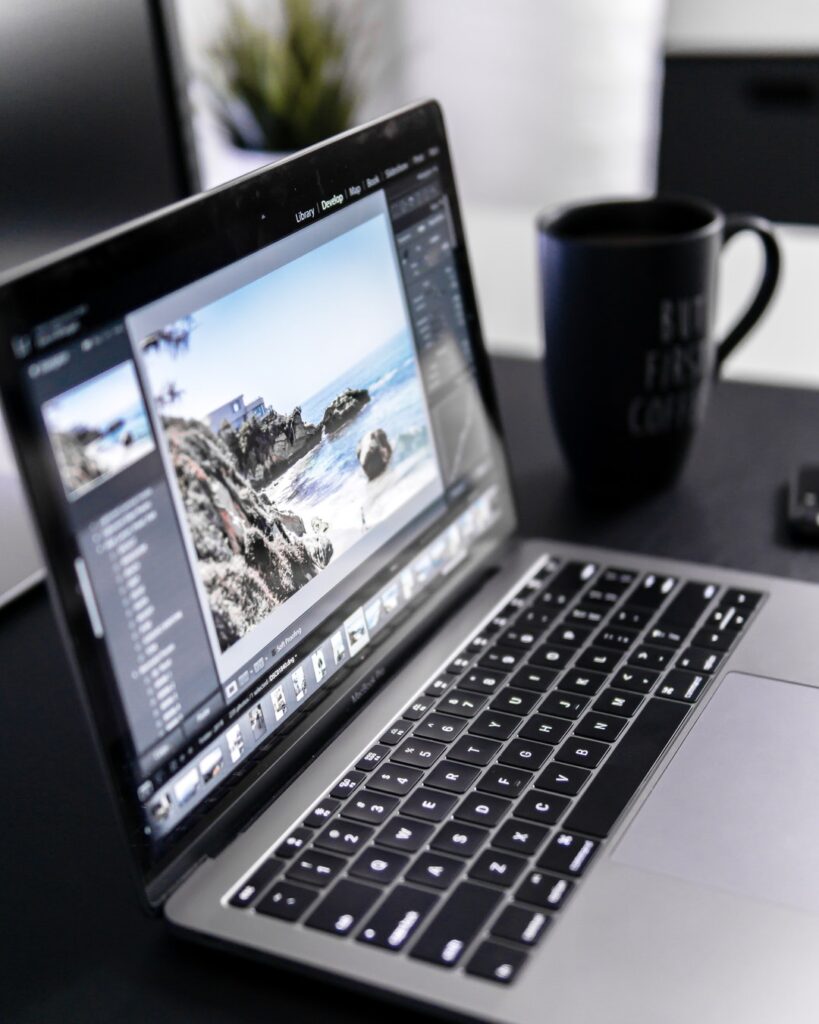
Download a Photo Editing Program or App
If you’re taking pictures on your smartphone, then there should already be a preinstalled photo editor on there. Otherwise, you can browse the app store or Google good photo editing software (there are plenty of free ones).
You don’t always have to download a program though. You can go online for a free background eraser such as the one from Adobe and edit within your browser!
Upload or Open Your Photo
Depending on what software you’re using, you’ll have to either upload or open your photo. For the best results, you’ll want to use an image where there are no overlapping elements. Clear edges will make things a lot simpler!
Select the Background
Next, you’ll want to use the lasso tool to outline the background you want to eliminate. Just click and hold down your mouse button to trace this area.
If you’re using a background eraser app, it should automatically detect where the background is.
Remove and Replace the Background
Once you’re done tracing the background, click on the “cut” button. This will instantly delete the selected area! (Image background remover apps will do this automatically after detecting the background noise).
Depending on what you want to use the image for, you can either leave it with a blank background or add a new one.
If you want to do the latter, many apps and programs come with preloaded images you can consider. If you don’t like any of them, or already have one from your library in mind, you can also choose to upload your own images.
When the upload’s done, this will place the background image on another layer. You can click and drag it to reposition it if needed.
Once you’re happy with the background image, you can then merge the layers so you have 1 “whole” picture!
Get Quality Photos With a Background Eraser
The next time you realize there’s a bad background in your picture, don’t get irritated. Instead, put your background eraser to good use.
With the many stock images and your own photos to choose from, you’ll be able to piece together photos that look top-notch. Erase the bad, and edit in the good for a picture you can be proud of!
Join the discussion on this topic with Arts On Earth Blog by visiting our contact page
Leave a Reply